
Using Content Editable Elements in JavaScript (React)
Any element can be made editable with the addition of the contenteditable attribute. This attribute is used all over the web, such as in Google Sheets. I'm not going to tell you to use or not to use contenteditable elements in your app. If you're choosing to use contenteditable, you may find this article useful.
I'm going to share a bunch of stuff I figured out while using contenteditable, so that someone else can find it all in one place.
Prerequisites
You may find something useful in this article if you're doing any sort of JavaScript work with contenteditable, but I'm going to use my examples with React. You should already know JavaScript, know about Node, setting up a React project with create-react-app, etc.
- Getting Started with React - an Overview and Walkthrough - if you've never used React.
As ever, I don't care about UI/design when it comes to articles about functionality, so I'm going to use Semantic UI React elements to plug in simple default styles.
Goals
I'm going to make a simple CRUD table in React using the ContentEditable component. I'm going to demonstrate a few issues you might run into, and the solutions I used.
Here are the issues:
- Pasting
- Spaces and Special Characters
- Newlines
- Highlighting
- Focusing
And then some stuff about numbers/currency, and editing existing rows.
Setup
Here's a CodeSandbox demo of the starting code.
I'm going to set up a React project in ce-app.
npx create-react-app ce-app && cd ce-appAdd react-contenteditable and semantic-ui-react as the dependencies. react-contenteditable is a really nice component which makes working with contenteditable more bearable.
yarn add react-contenteditable semantic-ui-react
npxis not a typo. Usenpm install -g npxto installnpxif you don't have it. If you're usingnpminstead ofyarn, usenpm i react-contenteditable semantic-ui-react.
For simplicity's sake, I'm going to put everything in index.js. I'm just loading all the dependencies, making the App component, putting some fake data in the state,
index.js
import React, { Component } from 'react'
import ReactDOM from 'react-dom'
import ContentEditable from 'react-contenteditable'
import { Table, Button } from 'semantic-ui-react'
import './styles.css'
class App extends Component {
initialState = {
store: [
{ id: 1, item: 'silver', price: 15.41 },
{ id: 2, item: 'gold', price: 1284.3 },
{ id: 3, item: 'platinum', price: 834.9 },
],
row: {
item: '',
price: '',
},
}
state = this.initialState
// Methods will go here
render() {
const {
store,
row: { item, price },
} = this.state
return (
<div className="App">
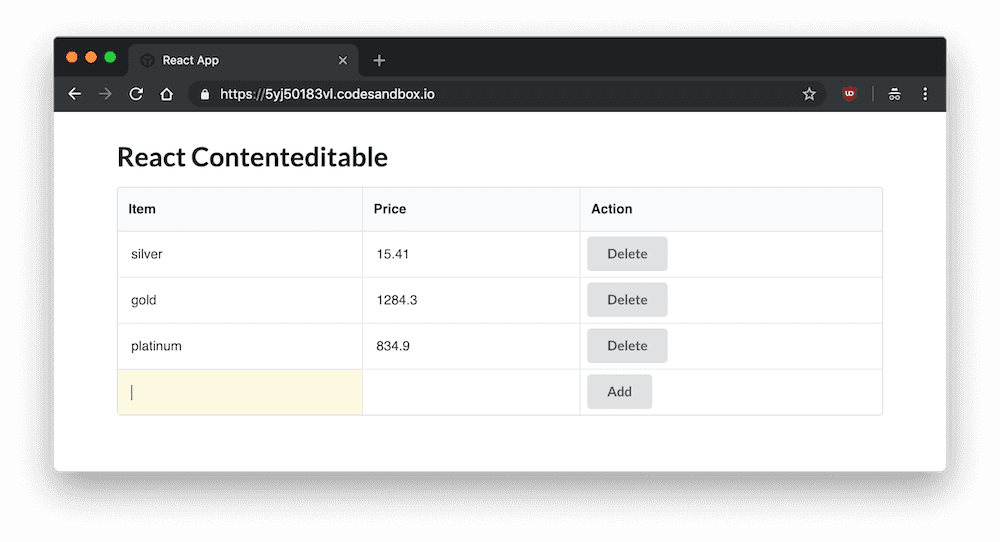
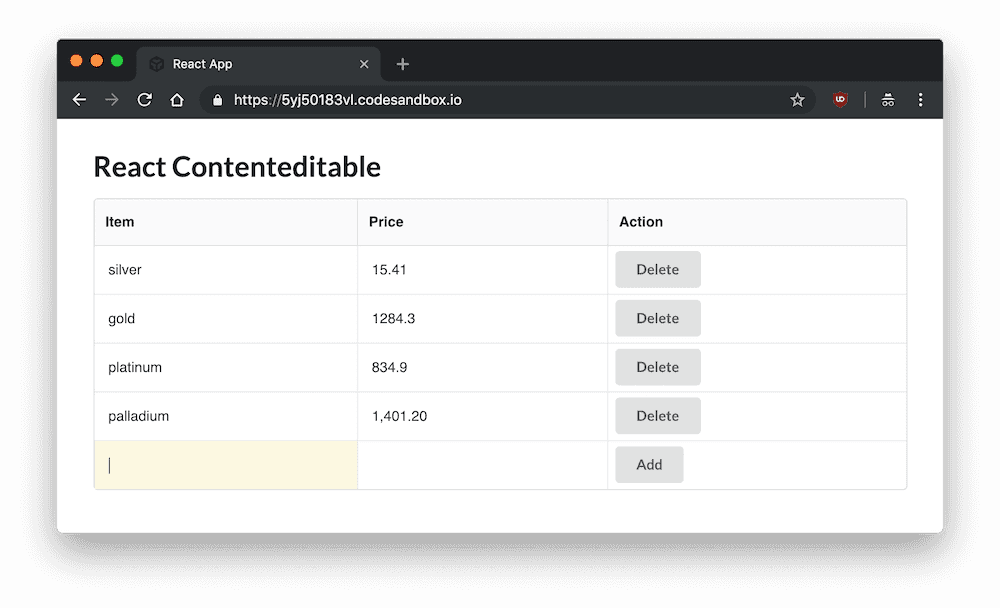
<h1>React Contenteditable</h1>
{/* Table will go here */}
</div>
)
}
}
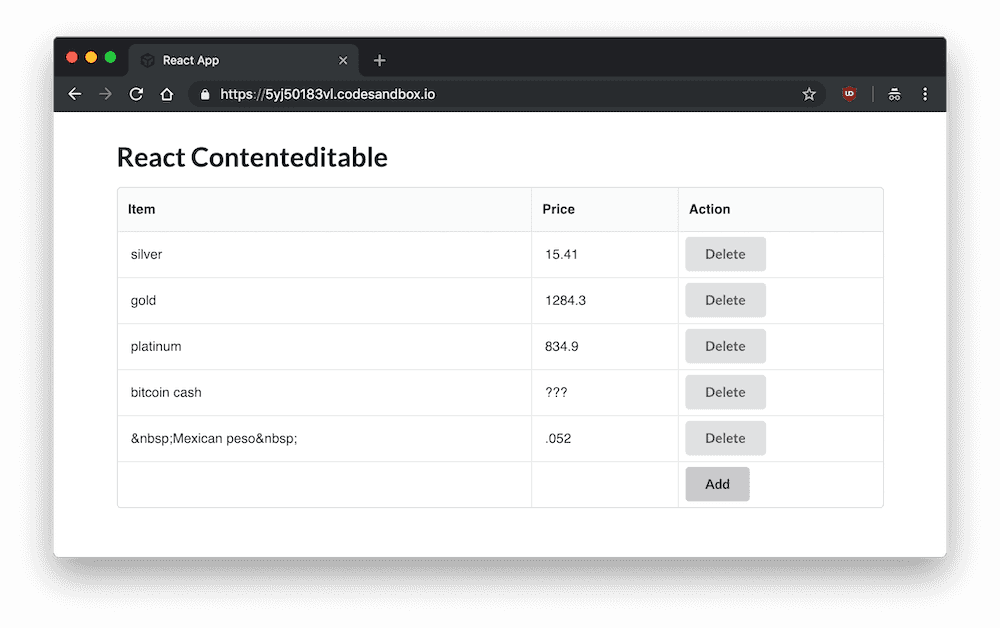
ReactDOM.render(<App />, document.getElementById('root'))The table has Item, Price, and Action as the headers, and maps through the state for each row. Each cell has a ContentEditable component, or an action to delete a row or add a new row.
<Table celled>
<Table.Header>
<Table.Row>
<Table.HeaderCell>Item</Table.HeaderCell>
<Table.HeaderCell>Price</Table.HeaderCell>
<Table.HeaderCell>Action</Table.HeaderCell>
</Table.Row>
</Table.Header>
<Table.Body>
{store.map((row) => {
return (
<Table.Row key={row.id}>
<Table.Cell>{row.item}</Table.Cell>
<Table.Cell>{row.price}</Table.Cell>
<Table.Cell className="narrow">
<Button
onClick={() => {
this.deleteRow(row.id)
}}
>
Delete
</Button>
</Table.Cell>
</Table.Row>
)
})}
<Table.Row>
<Table.Cell className="narrow">
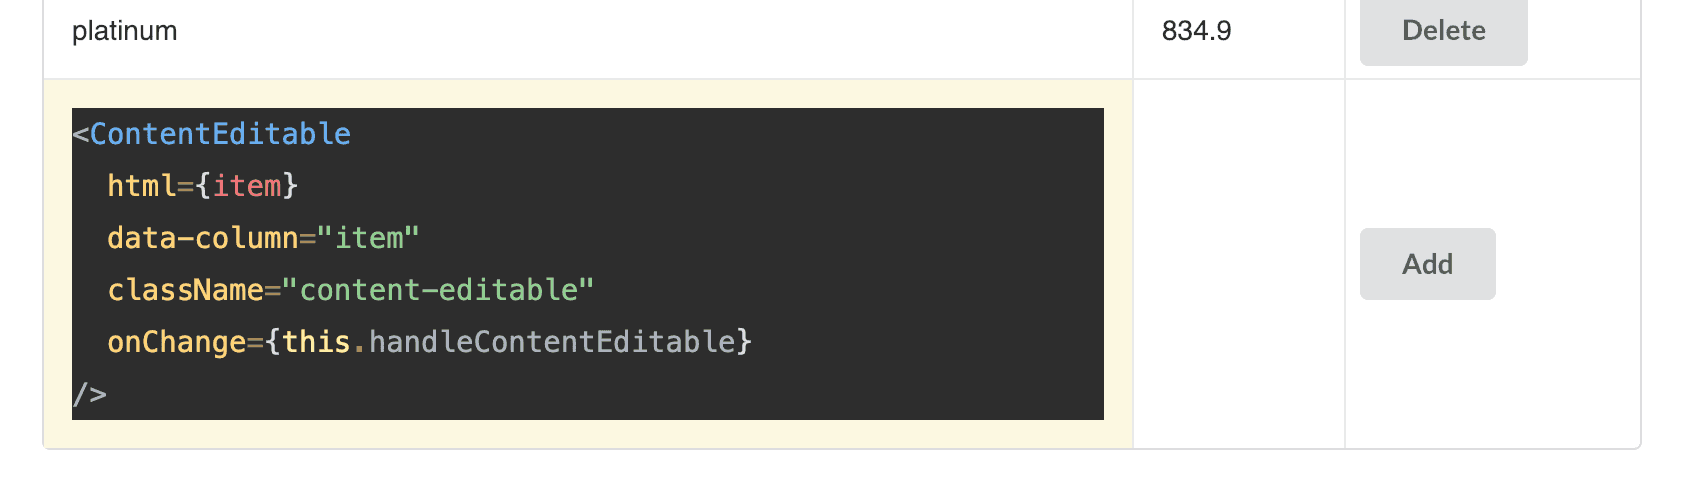
<ContentEditable
html={item}
data-column="item"
className="content-editable"
onChange={this.handleContentEditable}
/>
</Table.Cell>
<Table.Cell className="narrow">
<ContentEditable
html={price}
data-column="price"
className="content-editable"
onChange={this.handleContentEditable}
/>
</Table.Cell>
<Table.Cell className="narrow">
<Button onClick={this.addRow}>Add</Button>
</Table.Cell>
</Table.Row>
</Table.Body>
</Table>We start with three methods: one to add a row, which will update the store with the new row, and empty the existing row; the other to delete an existing row.
addRow = () => {
  this.setState(({ row, store }) => {
    return {
      store: [...store, { ...row, id: store.length + 1 }],
      row: this.initialState.row,
    }
  })
}

deleteRow = (id) => {
  this.setState(({ store }) => ({
    store: store.filter((item) => id !== item.id),
  }))
}
Finally, we have the handleContentEditable component, which will be invoked every time a change is made to ContentEditable, via onChange. In order to use one function many possible columns, I added a data-column attribute to the component, so I get the key (column) and value of each ContentEditable, and set the row.
handleContentEditable = (event) => {
  const { row } = this.state
  const {
    currentTarget: {
      dataset: { column },
    },
    target: { value },
  } = event

  this.setState({ row: { ...row, [column]: value } })
}
And a small bit of CSS to make it look decent.
.App {
  margin: 2rem auto;
  max-width: 800px;
  font-family: sans-serif;
}

.ui.table td {
  padding: 1rem;
}

.ui.table td.narrow {
  padding: 0;
}

.ui.button {
  margin: 0 0.5rem;
}

.content-editable {
  padding: 1rem;
}

.content-editable:hover {
  background: #f7f7f7;
}

.content-editable:focus {
  background: #fcf8e1;
  outline: 0;
}
Again, at this point you can see the completed setup on this demo if you got lost anywhere.
So with the setup complete, you have a table where you can add a new row using contenteditable, as opposed to an input or textarea, and therefore have complete control over the style of the element.
Issue 1: Pasting
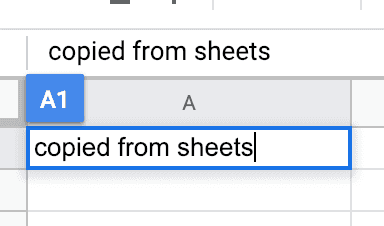
Okay, so now you have your app. The industrious user thinks, oh, I can just copy and paste from Google Sheets or Excel instead of typing everything in by hand!
Let me just copy the thing...
Paste it in...

Looks good. Let's submit that bad boy.
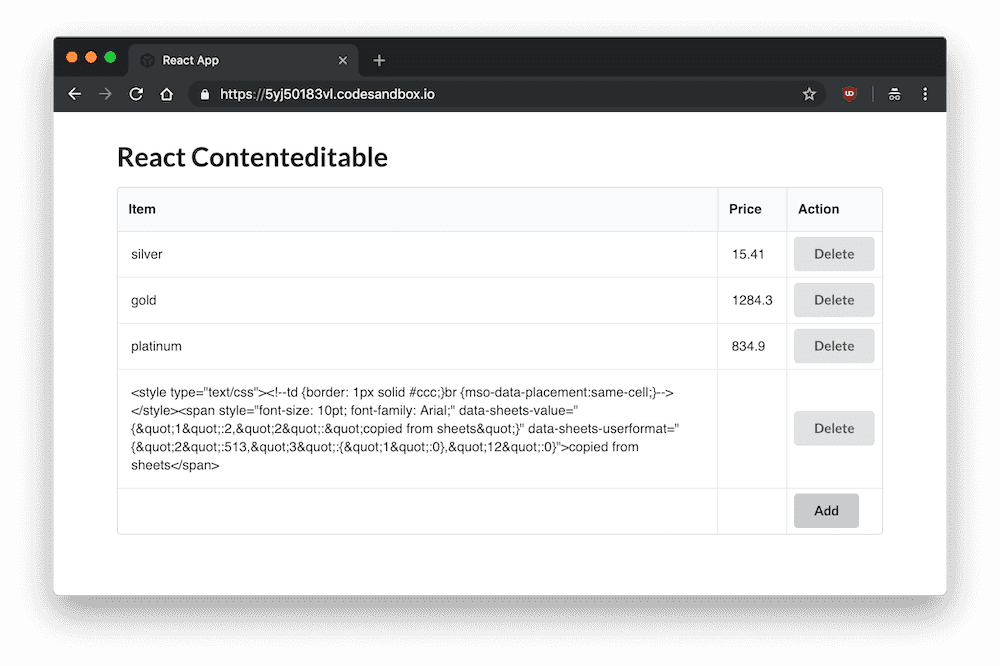
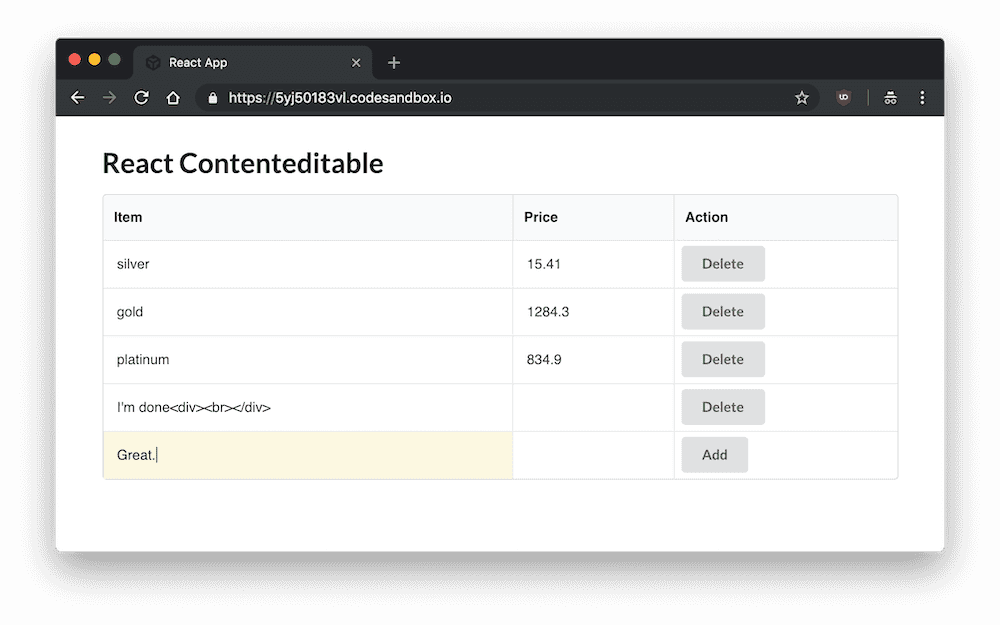
Uh, what? contenteditable elements retain the formatting style of the text. Even pasting directly from your text editor doesn't paste plain text. Nothing is safe.
Since obviously we don't want HTML to be submitted here, we need to make a function to only paste the text and not the formatting.
pasteAsPlainText = (event) => {
  event.preventDefault()

  const text = event.clipboardData.getData('text/plain')
  document.execCommand('insertHTML', false, text)
}
We can put it on the onPaste of the ContentEditable.
<ContentEditable onPaste={this.pasteAsPlainText} />Issue 2: Spaces and Special Characters
You might type something with some spaces in it, submit it, and it turns out okay.
Cool, so spaces aren't an issue with contenteditable, right?
Let's see what happens when your user pastes it from somewhere and accidentally retains the space before and after the phrase.
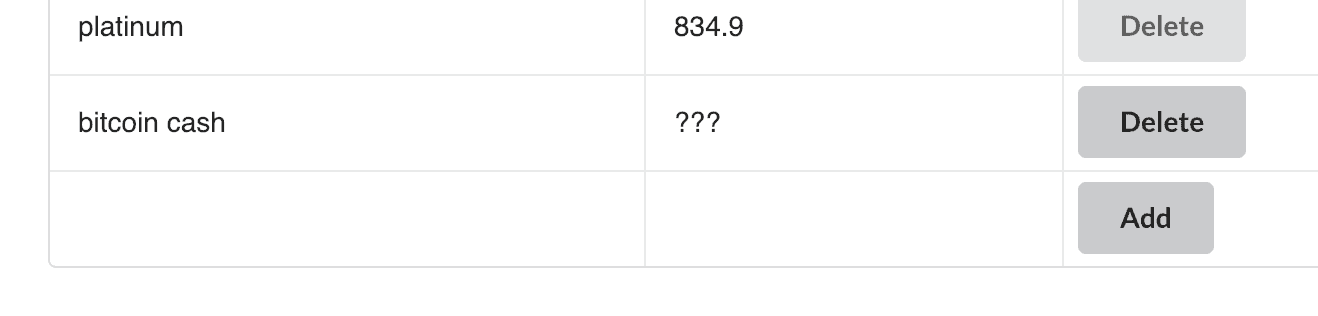
Great. &nsbp;, the non-breaking space you used to format your website in 1998 gets retained at the beginning and end. Not just that, but also less than, greater than, and ampersand.
So I just made a little find and replace for those characters.
const trimSpaces = (string) => {
return string
.replace(/ /g, '')
.replace(/&/g, '&')
.replace(/>/g, '>')
.replace(/</g, '<')
}If I add it to the addRow method, I can fix them before they get submitted.
addRow = () => {
const trimSpaces = (string) => {
return string
.replace(/ /g, '')
.replace(/&/g, '&')
.replace(/>/g, '>')
.replace(/</g, '<')
}
this.setState(({ store, row }) => {
const trimmedRow = {
...row,
item: trimSpaces(row.item),
id: store.length + 1,
}
return {
store: [...store, trimmedRow],
row: this.initialState.row,
}
})
}

Issue 3: Newlines
It's not beyond the realm of possibility to assume your user might try to press enter instead of tab to get to the next item.
Which will create a newline.
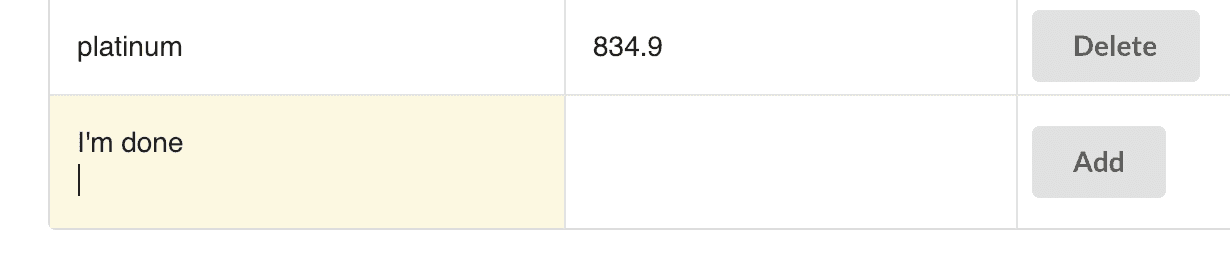
Which will be taken literally by contenteditable.
So we can disable that. 13 is the key code for enter.
disableNewlines = (event) => {
  const keyCode = event.keyCode || event.which

  if (keyCode === 13) {
    event.returnValue = false
    if (event.preventDefault) event.preventDefault()
  }
}
This will go on the onKeyPress attribute.
<ContentEditable onKeyPress={this.disableNewlines} />Issue 4: Highlighting
When we tab through a contenteditable element that's already there, the cursor goes back to the beginning of the div. This isn't very helpful. Instead, I'll make a function that highlights the entire element when selected, either by tab or mouse.
highlightAll = () => {
  setTimeout(() => {
    document.execCommand('selectAll', false, null)
  }, 0)
}
This will go on the onFocus attribute.
<ContentEditable onFocus={this.highlightAll} />Issue 5: Focusing After Submit
Currently, after submitting a row, the focus is lost, which makes having a nice flow while filling out this table impossible. Ideally, it would focus on the first item in the new row after submitting a row.
First, make a ref below state.
firstEditable = React.createRef()At the end of the addRow function, focus on the firstEditable current div.
this.firstEditable.current.focus()
ContentEditable conveniently has an innerRef attribute we can use for this.
<ContentEditable innerRef={this.firstEditable} />Now after submitting a row, we're already focused on the next row.
Dealing with Numbers and Currency
This is not quite specific to contenteditable, but since I'm using price as one of the values, here are some functions for dealing with currency and numbers.
You might use an <input type="number"> to only allow numbers on the front end in HTML, but we have to create our own function for ContentEditable. For the string, we had to prevent newlines on keyPress, but for currency, we'll only allow ., ,, and 0-9.
validateNumber = (event) => {
  const keyCode = event.keyCode || event.which
  const string = String.fromCharCode(keyCode)
  const regex = /[0-9,]|\./

  if (!regex.test(string)) {
    event.returnValue = false
    if (event.preventDefault) event.preventDefault()
  }
}
Of course, this will still let incorrectly formatted numbers like 1,00,0.00.00 through, but we're only validating the input of a single key press here.
<ContentEditable onKeyPress={this.validateNumber} />Editing Existing Rows
Finally, right now we can only edit the last row - once a row has been added, the only way to change it is to delete it and make a new one. It would be nice if we could just edit every single row in real time, right?
I'll make a new method just for updating. It's similar to the row, except instead of changing the state of the new row, it maps through the store and updates based on the index. I've added one more data attribute - the row.
handleContentEditableUpdate = (event) => {
  const {
    currentTarget: {
      dataset: { row, column },
    },
    target: { value },
  } = event

  this.setState(({ store }) => {
    return {
      store: store.map((item) => {
        return item.id === parseInt(row, 10) ? { ...item, [column]: value } : item
      }),
    }
  })
}
Instead of just displaying the values in the rows, they'll all be ContentEditable.
{store.map((row, i) => {
  return (
    <Table.Row key={row.id}>
      <Table.Cell className="narrow">
        <ContentEditable
          html={row.item}
          data-column="item"
          data-row={row.id}
          className="content-editable"
          onKeyPress={this.disableNewlines}
          onPaste={this.pasteAsPlainText}
          onFocus={this.highlightAll}
          onChange={this.handleContentEditableUpdate}
        />
      </Table.Cell>
      <Table.Cell className="narrow">
        <ContentEditable
          html={row.price.toString()}
          data-column="price"
          data-row={row.id}
          className="content-editable"
          onKeyPress={this.validateNumber}
          onPaste={this.pasteAsPlainText}
          onFocus={this.highlightAll}
          onChange={this.handleContentEditableUpdate}
        />
      </Table.Cell>
      ...
  )
})}
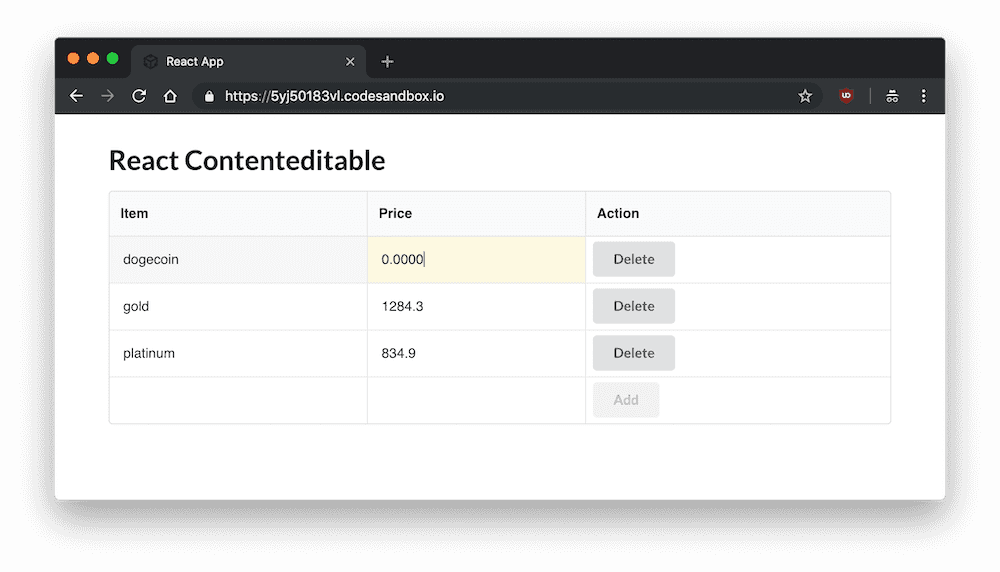
Finally, I'm going to add disabled={!item || !price} to the Button element to prevent empty entries from going through. And we're done!
Complete Code
View Completed Demo and Source
Here's everything, in case something didn't make sense. Click the demo above for a CodeSandbox source and front end.
import React, { Component } from 'react'
import ReactDOM from 'react-dom'
import ContentEditable from 'react-contenteditable'
import { Table, Button } from 'semantic-ui-react'
import './styles.css'
class App extends Component {
initialState = {
store: [
{ id: 1, item: 'silver', price: 15.41 },
{ id: 2, item: 'gold', price: 1284.3 },
{ id: 3, item: 'platinum', price: 834.9 },
],
row: {
item: '',
price: '',
},
}
state = this.initialState
firstEditable = React.createRef()
addRow = () => {
const { store, row } = this.state
const trimSpaces = (string) => {
return string
.replace(/ /g, '')
.replace(/&/g, '&')
.replace(/>/g, '>')
.replace(/</g, '<')
}
const trimmedRow = {
...row,
item: trimSpaces(row.item),
}
row.id = store.length + 1
this.setState({
store: [...store, trimmedRow],
row: this.initialState.row,
})
this.firstEditable.current.focus()
}
deleteRow = (id) => {
const { store } = this.state
this.setState({
store: store.filter((item) => id !== item.id),
})
}
disableNewlines = (event) => {
const keyCode = event.keyCode || event.which
if (keyCode === 13) {
event.returnValue = false
if (event.preventDefault) event.preventDefault()
}
}
validateNumber = (event) => {
const keyCode = event.keyCode || event.which
const string = String.fromCharCode(keyCode)
const regex = /[0-9,]|\./
if (!regex.test(string)) {
event.returnValue = false
if (event.preventDefault) event.preventDefault()
}
}
pasteAsPlainText = (event) => {
event.preventDefault()
const text = event.clipboardData.getData('text/plain')
document.execCommand('insertHTML', false, text)
}
highlightAll = () => {
setTimeout(() => {
document.execCommand('selectAll', false, null)
}, 0)
}
handleContentEditable = (event) => {
const { row } = this.state
const {
currentTarget: {
dataset: { column },
},
target: { value },
} = event
this.setState({ row: { ...row, [column]: value } })
}
handleContentEditableUpdate = (event) => {
const {
currentTarget: {
dataset: { row, column },
},
target: { value },
} = event
this.setState(({ store }) => {
return {
store: store.map((item) => {
return item.id === parseInt(row, 10) ? { ...item, [column]: value } : item
}),
}
})
}
render() {
const {
store,
row: { item, price },
} = this.state
return (
<div className="App">
<h1>React Contenteditable</h1>
<Table celled>
<Table.Header>
<Table.Row>
<Table.HeaderCell>Item</Table.HeaderCell>
<Table.HeaderCell>Price</Table.HeaderCell>
<Table.HeaderCell>Action</Table.HeaderCell>
</Table.Row>
</Table.Header>
<Table.Body>
{store.map((row, i) => {
return (
<Table.Row key={row.id}>
<Table.Cell className="narrow">
<ContentEditable
html={row.item}
data-column="item"
data-row={i}
className="content-editable"
onKeyPress={this.disableNewlines}
onPaste={this.pasteAsPlainText}
onFocus={this.highlightAll}
onChange={this.handleContentEditableUpdate}
/>
</Table.Cell>
<Table.Cell className="narrow">
<ContentEditable
html={row.price.toString()}
data-column="price"
data-row={i}
className="content-editable"
onKeyPress={this.validateNumber}
onPaste={this.pasteAsPlainText}
onFocus={this.highlightAll}
onChange={this.handleContentEditableUpdate}
/>
</Table.Cell>
<Table.Cell className="narrow">
<Button
onClick={() => {
this.deleteRow(row.id)
}}
>
Delete
</Button>
</Table.Cell>
</Table.Row>
)
})}
<Table.Row>
<Table.Cell className="narrow">
<ContentEditable
html={item}
data-column="item"
className="content-editable"
innerRef={this.firstEditable}
onKeyPress={this.disableNewlines}
onPaste={this.pasteAsPlainText}
onFocus={this.highlightAll}
onChange={this.handleContentEditable}
/>
</Table.Cell>
<Table.Cell className="narrow">
<ContentEditable
html={price}
data-column="price"
className="content-editable"
onKeyPress={this.validateNumber}
onPaste={this.pasteAsPlainText}
onFocus={this.highlightAll}
onChange={this.handleContentEditable}
/>
</Table.Cell>
<Table.Cell className="narrow">
<Button disabled={!item || !price} onClick={this.addRow}>
Add
</Button>
</Table.Cell>
</Table.Row>
</Table.Body>
</Table>
</div>
)
}
}
ReactDOM.render(<App />, document.getElementById('root'))Conclusion
Hope that helps you out!
Comments